SOIL & REPOTTING
How to Repot a Philodendron Plant
When to repot and what to do afterward
In this guide
To repot a philodendron plant, check the roots first, choose a suitable container and fresh mix, then replant at the same depth. Handle the roots gently, water the finished planting, and let excess drain. The right pot may be only slightly larger, or the same size if the plant mainly needs refreshed mix.
This guide covers indoor philodendrons grown in potting mix. It helps you decide whether repotting is needed and complete a routine move. A plant with soft, rotting roots needs its damage assessed before being treated as a healthy plant ready for a bigger pot.
Decide whether your philodendron needs repotting
Look for a root ball that is densely filled with roots, particularly a tight mass circling the sides and bottom. Roots emerging from drainage holes are a reason to inspect, but checking the whole root ball gives you a clearer view of the available space.
Other clues include mix that dries unusually quickly or old mix that has broken down and become poorly drained. Smaller leaves or slower growth can have other causes too, so use those changes alongside the root and moisture evidence.
| What you observe | What to check | Likely next step |
|---|---|---|
| Dense roots circling the pot; little loose mix remains | Whether the roots have filled the container | Move to a modestly larger pot if roots are healthy. |
| Old, compacted mix; roots still have room | Drainage and condition of the medium | Refresh the mix; a larger pot may not be needed. |
| Roots growing along a climbing or trailing stem | Whether these are aerial roots | Check the roots inside the pot before changing its size. |
| Wilt with wet mix, soft roots, or a mushy stem base | Root damage and drainage | Assess a recovery approach before routine repotting. |
Aerial roots help climbing philodendrons attach to a support. Their presence along a vine is normal and does not by itself establish that the roots inside the pot are overcrowded.
For a wet, declining heartleaf plant, the overwatered Philodendron Brasil guide explains the root checks before a recovery decision.
Choose a time when the plant is growing
Spring or early summer is usually a good time for routine philodendron repotting, as active growth helps the plant establish. If a healthy plant has adequate root space and its mix drains properly, there is little reason to disturb it just because a date has arrived.
How often you need to repot depends on growth, pot size, and the medium. Inspect conditions first; some philodendrons can stay in the same pot for years.
Serious drainage problems or ongoing root damage need attention when they occur. In that situation, assess the plant’s condition rather than postponing the problem until spring.
Choose the pot and fresh mix
For a healthy root-bound indoor plant, move up about one pot size. A container roughly 1 to 2 inches wider in diameter is a common starting point. Fit it to the root ball and avoid a large increase in depth.
The RHS guide to overpotting explains why a large volume of fresh mix can remain wet around a small root ball. Choose enough room for growth while keeping the amount of new medium manageable.
Use drainage holes. A decorative pot without holes can serve as an outer cover for a draining inner pot, provided you empty collected water. Gravel at the bottom does not replace drainage holes.
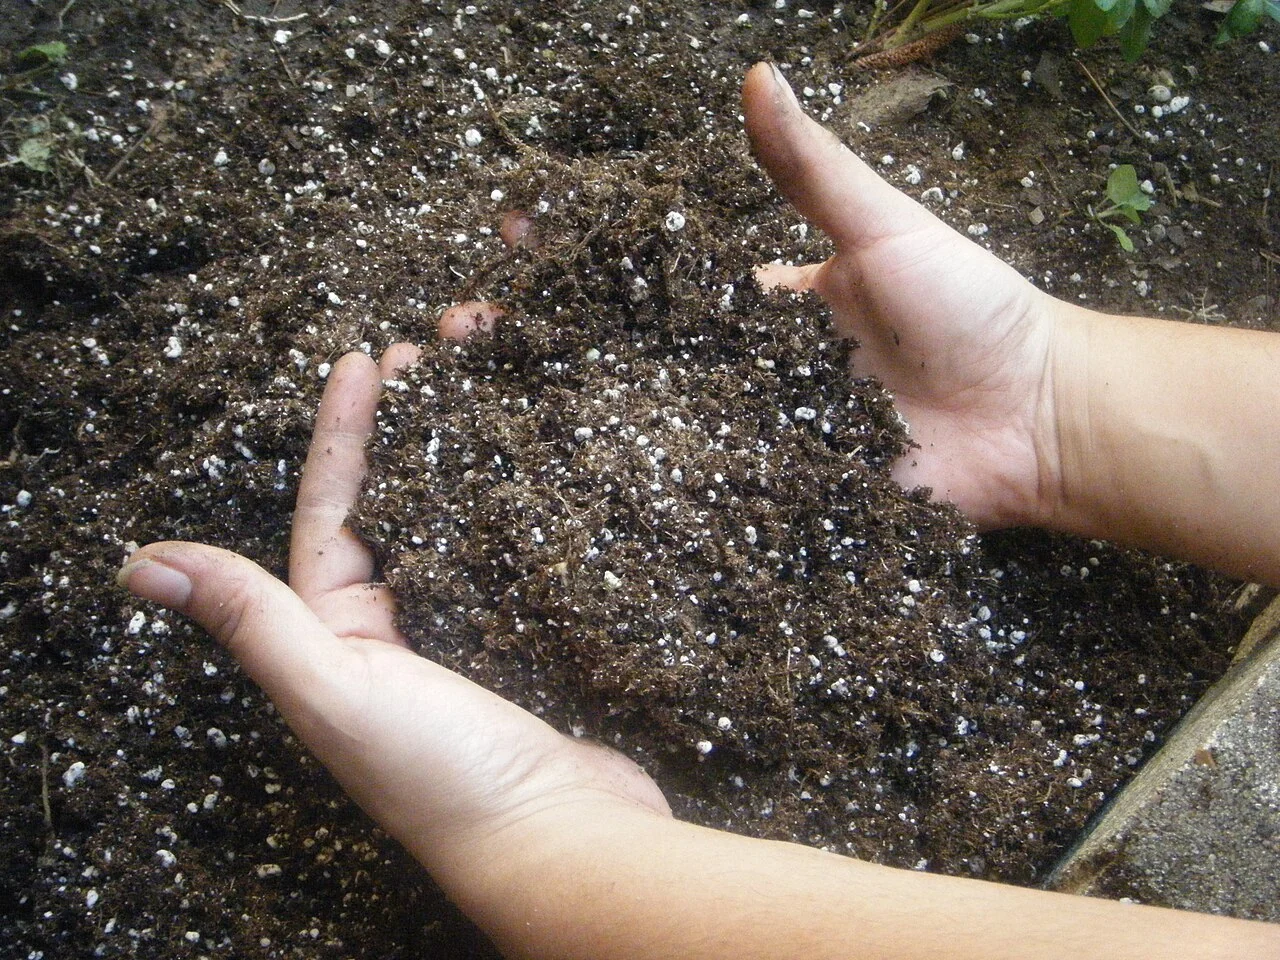
Choose fresh houseplant potting mix that holds useful moisture while allowing drainage and air around the roots. A suitable soilless mix can be a practical starting point. Avoid digging garden soil straight into an indoor container, where it can be dense and carry pests or disease.
When the mix needs refreshing but roots have room, reuse a suitable cleaned pot instead of increasing its size.
For ingredients and mix options, see philodendron potting soil.
Prepare before taking the plant out
Have the supplies within reach:
- A suitable pot with drainage holes and a saucer or cover pot.
- Fresh potting mix, prepared according to its package instructions.
- Gloves and clean, sharp pruners if damaged roots need removal.
- A tray, sheet, or clear surface to collect loose mix.
- Water and a sink or other place where the finished pot can drain.
Wear gloves because philodendron sap can irritate skin. Keep the plant, removed tissue, and tools away from children and pets. Philodendrons are harmful if eaten.
Photograph the plant and note its existing planting level. Untangle loose vines from nearby furniture so they will not catch as you handle the container.
Repot the plant step by step
Step 1 Remove the old container gently
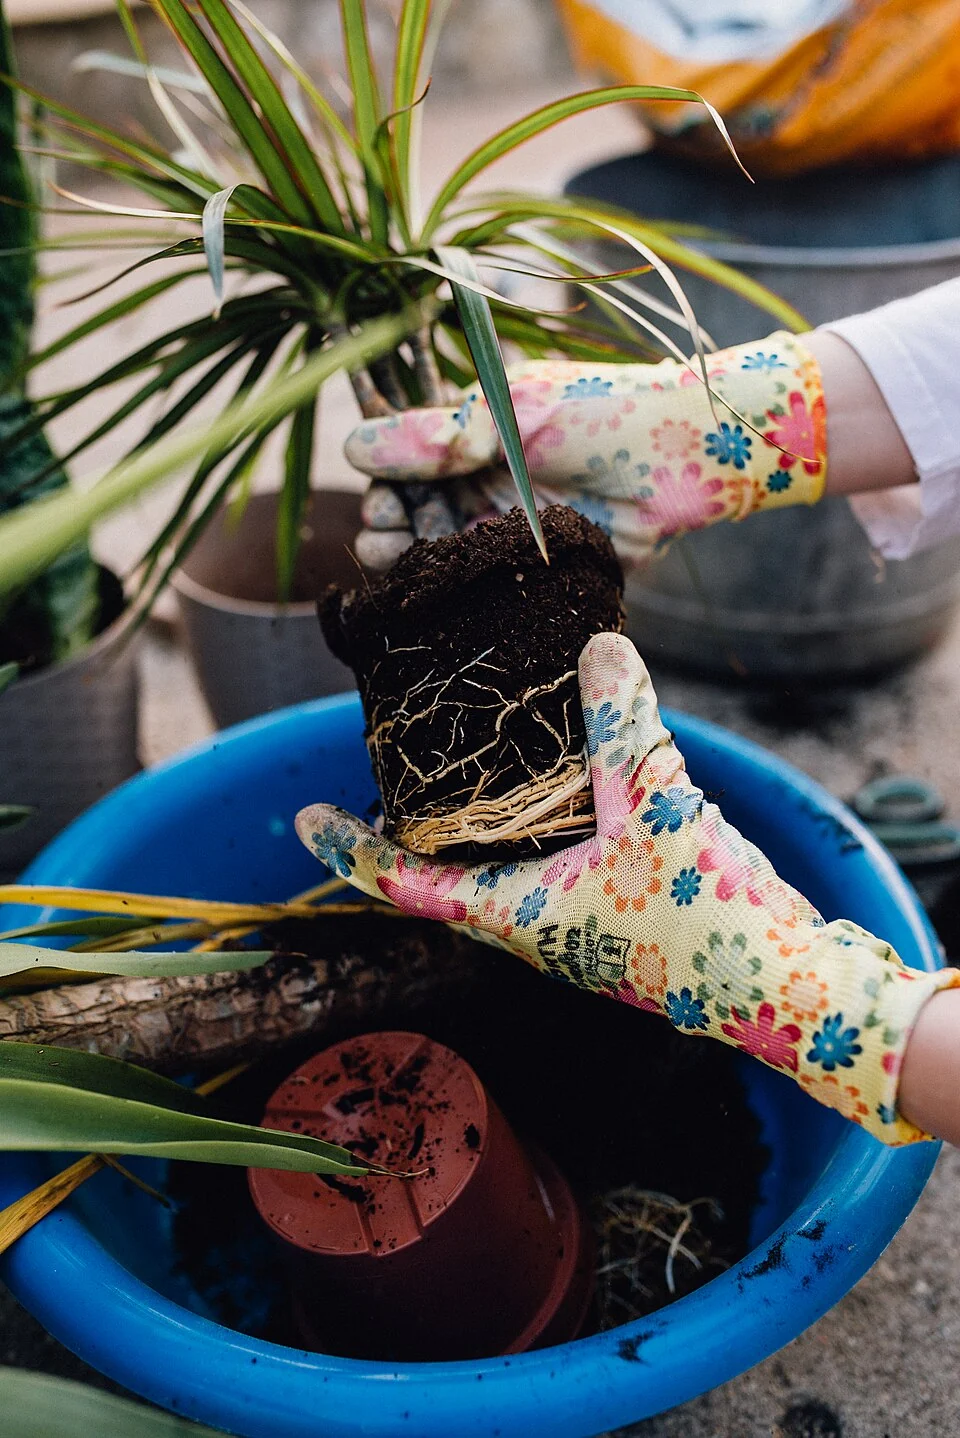
Support the root ball and plant base as you tilt the container. Squeeze the sides of a flexible plastic pot to loosen it, then slide the root ball out. Work gradually if it sticks, rather than pulling hard on the vines or leaf stalks.
Keep a climbing support steady while moving the plant. Handle the pot and root mass together as much as possible so trailing stems are not left bearing the weight of the root ball.
Step 2 Inspect the roots and old mix
Check how tightly the roots fill the pot and whether the medium is loose or compacted. Retain firm roots. Soft, mushy roots or roots losing their outer layer are a concern; color alone is not enough reason to cut a root.
If you find significant rot or a soft stem base, pause the routine process. The plant may need removal of damaged tissue, fresh medium, and a container matched to its remaining roots. Simply surrounding the damaged root ball with more wet mix does not address that problem.
Step 3 Loosen crowded outer roots as needed
Gently tease apart densely circling outer roots so they can grow into the new mix. If severe congestion prevents loosening, a limited trim with clean pruners may be appropriate. Keep handling proportionate to what you find; healthy, uncrowded roots do not need the same treatment.
Let loose old mix fall away and refresh what is worn out. You do not need to strip every healthy root bare or scrub it simply to complete a routine repot.
Step 4 Set the original planting depth
Add enough fresh mix to the bottom of the new pot to position the root ball correctly. Keep the plant at the depth it grew before, rather than burying the stem base under an extra layer. Check the level before filling all the sides.
Leave space below the rim so water can collect briefly and soak into the medium without immediately overflowing the pot.
Step 5 Fill around the root ball
Add fresh mix around the sides and settle it lightly with your fingers. Fill obvious gaps so the plant stands securely, while avoiding heavy compression. Check that the plant remains at the intended level and that a support is stable.
For trailing plants such as Micans or Brasil, choose the pot from the roots you inspected, not the length of the vines. Arrange the stems so they hang freely without being pinched beneath the container.
Step 6 Water the routine repot and let it drain
For a routine repot with healthy roots, water slowly and thoroughly until excess runs from the drainage holes. Let the pot drain and empty its saucer or outer cover. This helps moisten the mix around the root ball and settle the planting.
If water rushes through a gap while the root ball remains dry, check whether the medium has actually absorbed it. Very dry mix may need gradual repeat applications to become evenly moist.
Adjust watering and care afterward
Return the plant to suitable indirect light and steady indoor conditions. Avoid adding a sudden move into strong sun to the repotting change. Plants exposed to excessive light can scorch, while plants in dimmer conditions generally use less water.
Check the mix before watering again. Feel below the surface and compare the pot’s weight as it dries. A new container or medium can change how much water it holds, so the old watering interval may no longer fit.
Philodendrons generally prefer evenly moist conditions rather than soggy mix. Let the top dry between waterings while checking that the root zone is not staying waterlogged. Empty drainage water after each watering.
Check whether the fresh mix already contains fertilizer. Immediate extra feeding may be unnecessary. Resume an appropriate feeding routine when the plant is established and actively growing, using the product directions rather than a stronger dose to encourage recovery.
Keep the plant away from hot or cold air blasts. Use the care needs of its species or cultivar to guide light and moisture, including for Micans, heartleaf Lemon Lime, Brasil, and White Knight.
Choose the matching care guide for Philodendron Micans, Lemon Lime heartleaf, or White Knight.
Check wilting or curling after repotting
Repotting can disturb roots, and environmental changes can contribute to leaf loss or poor condition. Wilting or curling afterward still deserves a moisture check. The same outward symptom can occur when a plant is too dry or when wet conditions have damaged roots.
If the root ball is dry, water it thoroughly and confirm that the mix absorbs the water. If it remains wet, do not keep adding water because the leaves droop. Check drainage, pot size, and whether the stem base is firm.
A much larger pot with persistently wet new mix may need reconsideration. Where overpotting is contributing to decline, carefully returning the plant to a container only slightly larger than its root ball can be appropriate. Base that decision on the conditions rather than making repeated pot changes.
Photograph the plant after repotting and record the date, pot change, and mix used. Compare subsequent damage and new growth when you check again. Spreading yellowing, worsening wilt, soft stems, or collapsing roots need closer assessment. Share that history and photographs with a local Extension service if the cause is uncertain.
These guides help you assess care conditions. If a problem keeps spreading, share your observations and photographs with a local Extension service. Read our editorial approach.
Spotted something we should check?
Suggest a correctionA USEFUL NEXT READ
Keep following the clues.
Soil & repotting7 min read
Philodendron Potting Soil
Choose a mix that balances moisture, air, and your growing conditions.
Read the guide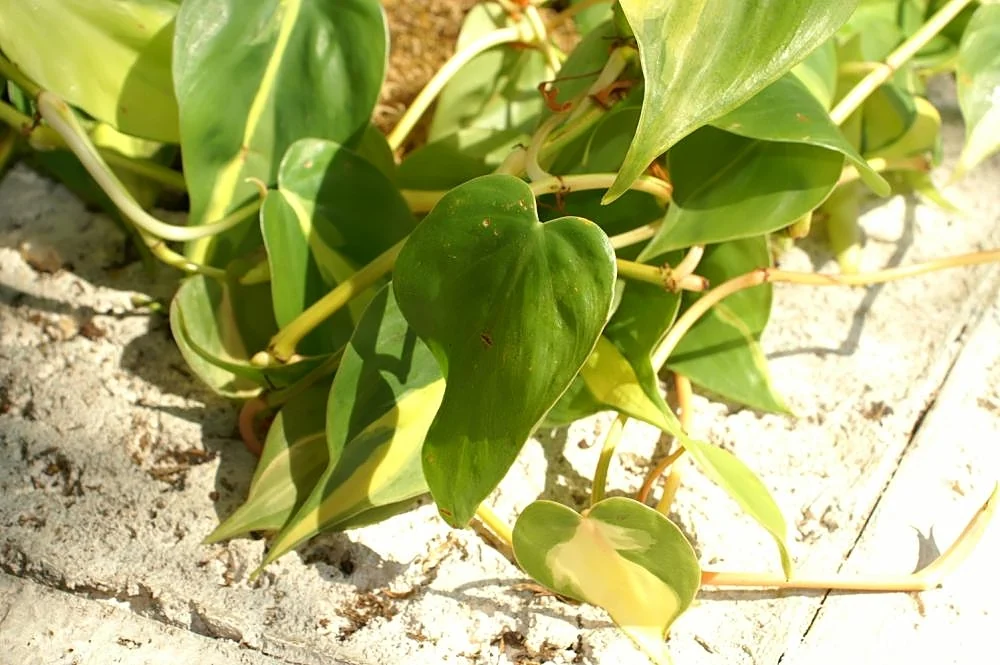
Plant problems8 min read
Overwatered Philodendron Brasil
Check the roots and drainage, then choose a recovery path.
Read the guide Image credits
Plant care8 min read
Philodendron Micans Care
Light, water, and a better everyday routine for velvet leaves.
Read the guide Image credits